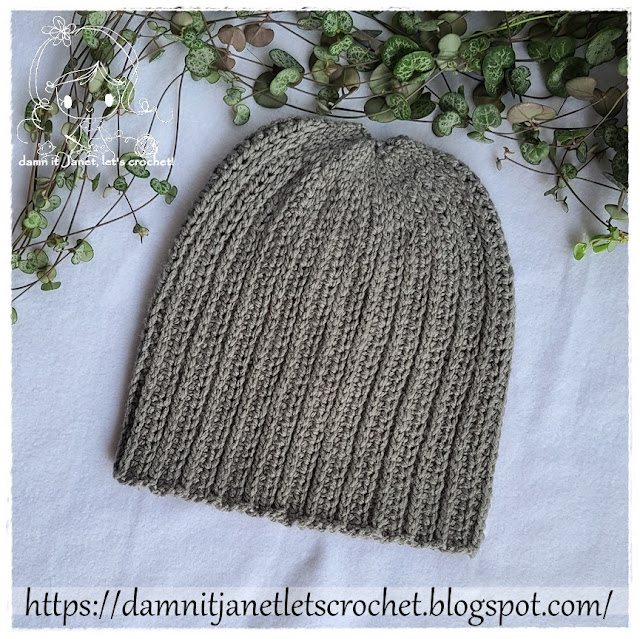
Slouchy beanies are really trendy among teenagers, as well as adults. I truly hope that this beanie grabs your attention and gets a top place in your collection of beanies. You can comfortably wear it during any season depending on the yarn you used and the weather, of course.
SIZE/MEASUREMENTS
This beanie fits someone with a head circumference of...
21" to 23" (adult/women) and
22" to 24" (adult/male).
SIZE/MEASUREMENTS
This beanie fits someone with a head circumference of...
21" to 23" (adult/women) and
22" to 24" (adult/male).
...but can vary based on yarn and hook size.
MATERIALS
*Crochet hook size: 3.5mm (E) & 5.0mm (H)
*Worsted Weight Yarn: color of choice (155yds)
*Tapestry Needle
PATTERN NOTES - must-read...
Numbers in ( ) at the end of each round/row indicate the total number of stitches.
The chain, in the beginning, does NOT count as one stitch unless stated otherwise.
Easily Customizable... chain any number of chains + 2.


If you want to make your beanie more slouchy, add more chains to your foundation chain or less for a non-slouchy look.
To fit a child, simply do less rows and chains but always end with a row 2.
How to crochet on the 3rd loop of the hdc stitch?
As you have seen in the picture below, theirs a “third” loop in the half double crochet stitch. In addition, the two main loops (the V on the top of each stitch which is referred to as the front loop and back loop). By crocheting into the third loop, you will be pushing the top V (the front and back loops) forward. This will make it look a lot like knitting. At least on the right side of your project.
BEANIE
How to crochet on the 3rd loop of the hdc stitch?
As you have seen in the picture below, theirs a “third” loop in the half double crochet stitch. In addition, the two main loops (the V on the top of each stitch which is referred to as the front loop and back loop). By crocheting into the third loop, you will be pushing the top V (the front and back loops) forward. This will make it look a lot like knitting. At least on the right side of your project.
Row 1 [RS]: ch40, hdc in 3rd ch from hook and in the next 32 chs, sc in next ch, sl st in next 4 chs, ch1, turn (38)
Row 2 [WS]: front loops for the following 5 sts, sl st in next 4 chs, sc in next st, 3rd loops for the rest of the row, hdc in each st across, ch2, turn (38)
Row 3 [RS]: back loops only for this row hdc in next 32 sts, sc in next st, sl st in next 4 sts, ch1, turn (38)
Repeat row 2 and 3 until you reach the desired width. Finished the beanie with a row 2. The beanie shown here consists of 46 rows.
Do NOT finish off.
Slip stitch the edges together, we will be going through the back loop from the piece on your hook and both loops of the foundation chains.
After you have slip stitch the side up, we will sc2tog around the top using a 3.5mm (E) hook and only going through every other stitch.
F/O, leave a long tail. Weave the yarn back and forth through stitches around top. Pull tight to cinch the opening closed. Weave in the ends.


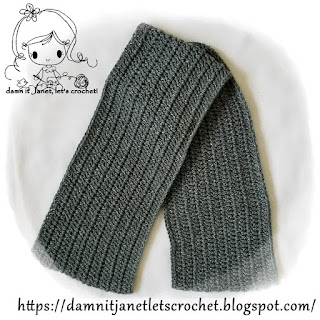
Would you like to make the matching scarf?
Pattern --> HERE.


GLOSSARY:
ch/s:chain/s || hdc: half double crochet || sl st: slip stitch || st/s: stitch/es || f/o: finish off
Don't forget to like this blog's Facebook page.
Or to follow our Instagram page. :)
Have a nice crochet time!
- Janet
- Janet
This pattern is an original pattern by Janet Carrillo "damn it Janet, let's crochet!" (February 2023). Please do not claim this pattern as your own. If you wish to share this pattern, you may link to this pattern but please do not reprint/repost it on your site. You may print and keep a copy for your own personal use. Please do not resell or distribute it.

